I decided to make my wife a Porch Swing Glider for her birthday this year. I downloaded plans for the bench from Ana White's webpage. For the Glider itself, I followed a video on YouTube. Stay tuned! I will be posting the plans and step-by-step tutorial soon.

Building the Porch Swing Bench:
Materials
(5) 2x4 @ 8 ft
(2) 1x6 @8 ft
(1) 1x6 @4 ft
(1) 1x4 @8 ft
2 1/2" (2 and a half inch) exterior Self-Tapping Screws -OR-
1 1/2" (1 and a half) exterior Self-Tapping Screws (if using a Kreg Jig)
(8) Eye Bolts
(8) S-Hooks
10 foot chain for the glider (have the hardware store cut to 2.5ft each)
* If you are hanging on your porch or a separate A-frame (not off the Glider like this tutorial) then your chain measurement will vary. Judge accordingly.
Tools
Carpenter square
Measuring tape
Pencil
Miter Saw or Circular Saw (or hand saw if you're up for the work)
Drill
Kreg Jig (if choosing to make Pocket holes)
Sander
Countersink Bits
Safety
Here's some good safety guidance I read on ana-white's post.
"Work on a clean level surface, free of imperfections or debris. Always use straight boards. Check for square after each step. Always predrill holes before attaching with screws. Use glue with finish nails for a stronger hold. Wipe excess glue off bare wood for stained projects, as dried glue will not take stain. Be safe, have fun, and ask for help if you need it. Good luck!"
First and foremost, buy some lumber!
* Lumber of choice. I used Pine, you may want to consider weather treated wood if your glider will be exposed to the elements

Spent about $56 bucks for the wood and screws.
The rolled up thing (not included in the price) is a fence/net. I have to (separate blog) put a top on our vegetable garden. I have birds eating my seeds!
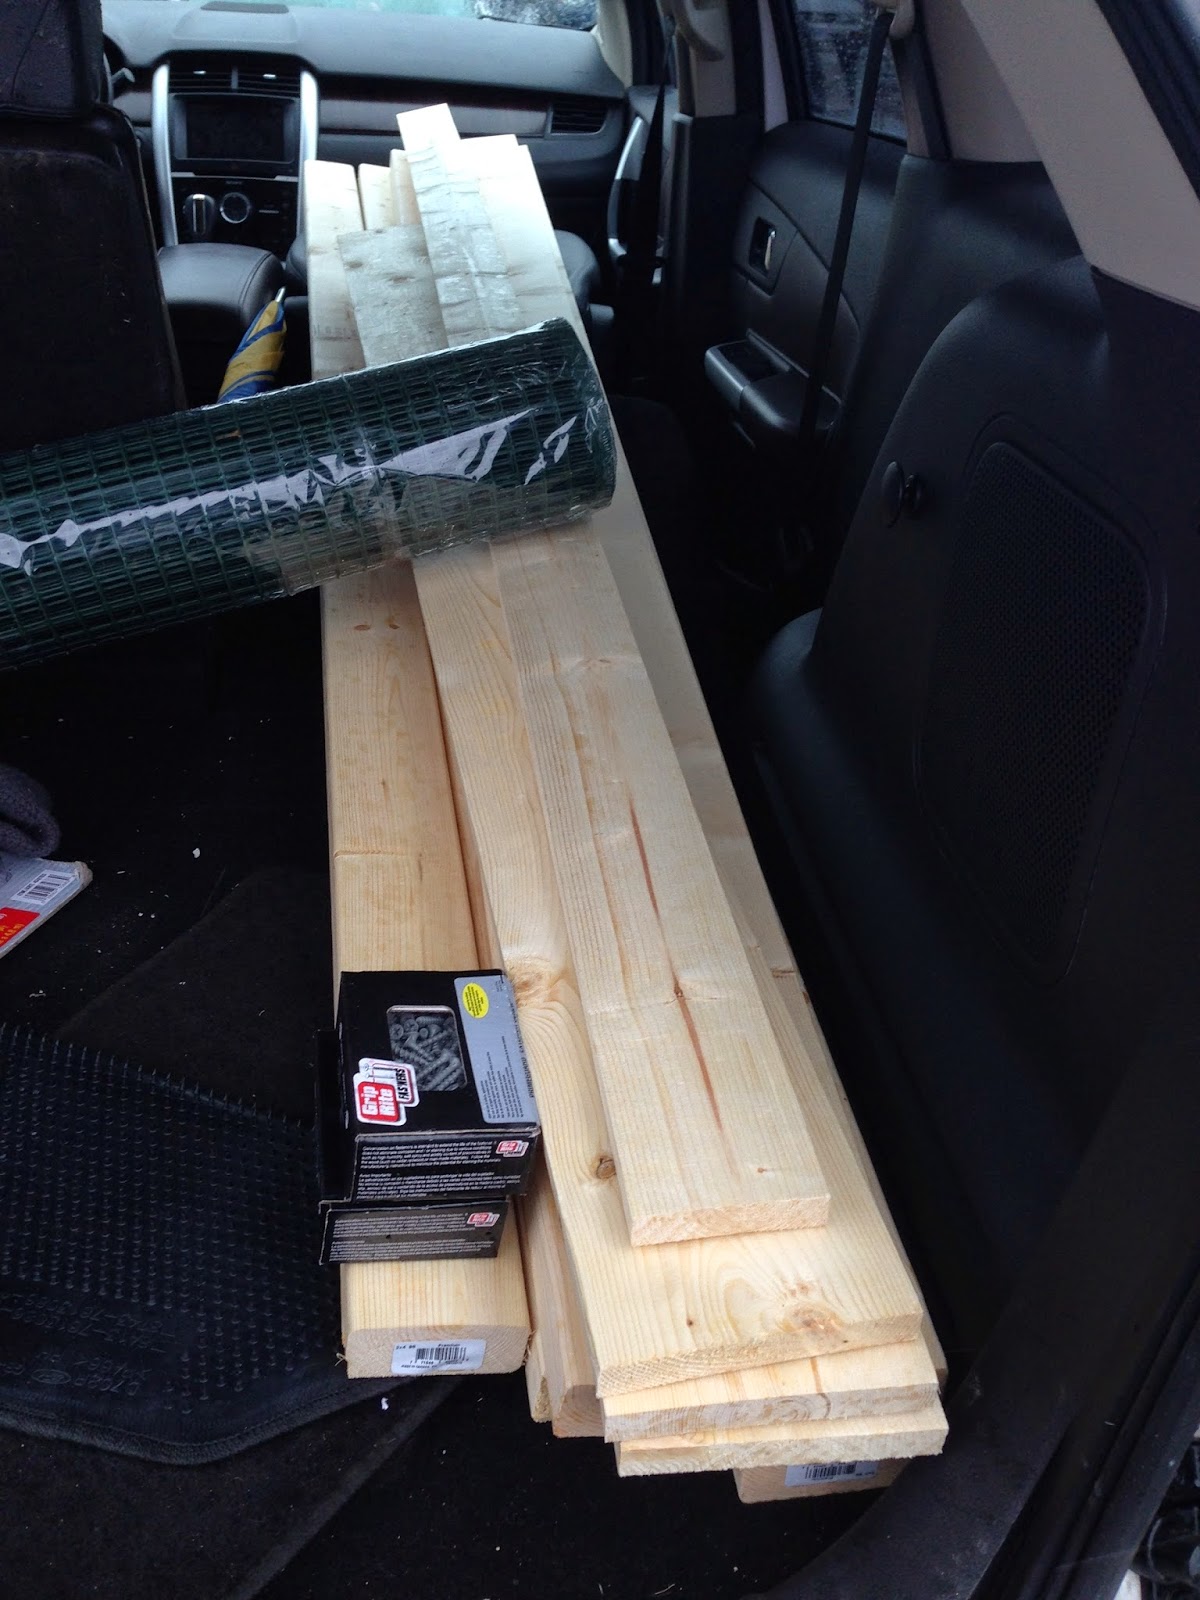
Haul them home
Secondly, cut to size
Cut List:
(2) - 2x4 @ 48"
(4) - 2x4 @ 18"
(4) - 2x4 @ 19 3/4"
(1) - 2x4 @ 48"
(2) - 2x4 @ 11 1/4"
(2) - 2x4 @ 22 1/2"
(5) - 1x6 @ 48"
(2) - 1x4 @ 48"

I used my miter saw, measured twice, cut once, and here goes the cut stock. And the iPad so I can make sure I stay on course, take pics, make notes and listen to some good Pandora music :-)
Build a basic 2 x 4 Frame


Line up the pieces, mark your lines (where you will be screwing your pieces together)

Make sure to mark your measurements

Attach with 2-1/2" screws on one side first, squaring each attachment

Follow up with attaching the other side

Assemble the back support frame. Don't worry about the bottom just yet. This picture is just to show you the top, and back slots coming together. I pocket hole'd these.

I assembled the back support with pocket holes. Make sure you set it up for the material thickness.

Clamp, Square and assemble the back frame.

Attach the back support to the bottom

This is how mine turned out.

I simply put three screws per board.
Countersink the holes as you attach the back to the bottom support

Attach the front arm supports.

Attach the front arm support tops
*please note my after-action notes. Before installing the arm support tops I will suggest you
(1) Pocket hole these to attach to the back
(2) Do not install until AFTER you place the seat boards. Otherwise you will not have the clearance to screw the ends of the seat boards (next step)

Attach the seat slats
*THEN I would install/screw the front Arm Support Tops

I used a 1/4 inch piece of wood to leave a gap between the set boards

Closer look at the gap distance

I marked with a pencil my countersink hole locations. You can't see it on this picture but you can actually see the bottom frame board underneath. This is where I screw the seat bottom pieces. I attached the bottom seat slays with 8 screws per board.

Install the back slots

I preferred my spacing to be larger at the bottom, but you can see its pretty straight forward. what you did on the seat bottoms, do on the backs.
This covers how to assemble the bench!
On our next entry I will cover how to create the Glider (along with the chains, etc.) and lastly the finish.


After assembling the bench I used my router to round over the edges.
After routing the edges and before calling it a night, I placed wood filler on all of the screw holes. Once its dry (tomorrow), I will sand the bench, and prepare for staining and weatherproofing.
This step (wood filler on the screw holes) is strictly cosmetic so if you like the rustic look, feel free to leave them as is :-)
(Pics of the stained/finished product will be posted soon)
What I would do different my next go-around:
- I would attach the bottom slats before installing the arm rests. The arm rests are in the way.
- Route the wood before installing (not enough clearance to route afterwards).
Bench Plans:
http://ana-white.com/2013/06/plans/shanty2chic-porch-swing
Glider Video:
https://www.youtube.com/watch?v=zBN2ZDYtFQo
Please follow us on social media!
http://www.etsy.com/shop/WoodyWoodWorks
http://www.facebook.com/WoodyWoodWorks79
https://twitter.com/woodywoodworks
http://instagram.com/WoodyWoodWorks
http://www.pinterest.com/WoodyWoodWorks3/
http://www.etsy.com/shop/WoodyWoodWorks
http://www.facebook.com/WoodyWoodWorks79
https://twitter.com/woodywoodworks
http://instagram.com/WoodyWoodWorks
http://www.pinterest.com/WoodyWoodWorks3/
No comments:
Post a Comment