Thanks for stopping by our blog!
This week we will be posting a how-to tutorial for a popular item we will have for sale on our store (http://www.WoodyThings.com). I stumbled upon this picture on the Google machine ;-) and decided to create a similar item.

Below I will show you how to make a 2 and/or 3 Jar mount.
Uses:
Some popular applications for mounted mason jars depend on the room you use them. Some ideas can be:
- Bathroom/Powder room (fill with Q-tips, cotton balls, combs, brushes, makeup sponges, shower caps, etc.)

- Office or homework area (fill with pens, pencils, paper clips, rubber bands, rulers, markers, etc.)

- Laundry room (fill with clothes pins, spare change, detergent capsules, etc.)
Now lets get to it, check out the steps below:
Material List
For 2 Mason Jars:
(2) Mason Jars (mine were 7" tall, 3.75" wide)
(2) Clamps- Adjustable from 3" to 5"
(1) Wood Board, 1 x 6 @ 12" (I used pine)
For 3 Mason Jars:
(3) Mason Jars (mine were 7" tall, 3.75" wide)
(3) Clamps- Adjustable from 3" to 5"
(1) Wood Board, 1 x 6 @ 16" (I used pine)
(2) Sawtooth Picture Hangers
(10) Brad Nails
Carpenter square
150 grit Sand paper
Stain or paint
Tools
Saw (Miter saw, handsaw, circular or jigsaw. whatever floats your boat)
Pencil (to mark measurements on the wood)
Clear weather seal
Optional tools
Jigsaw (to cut corner design)
Router (to route/dress up the edges)
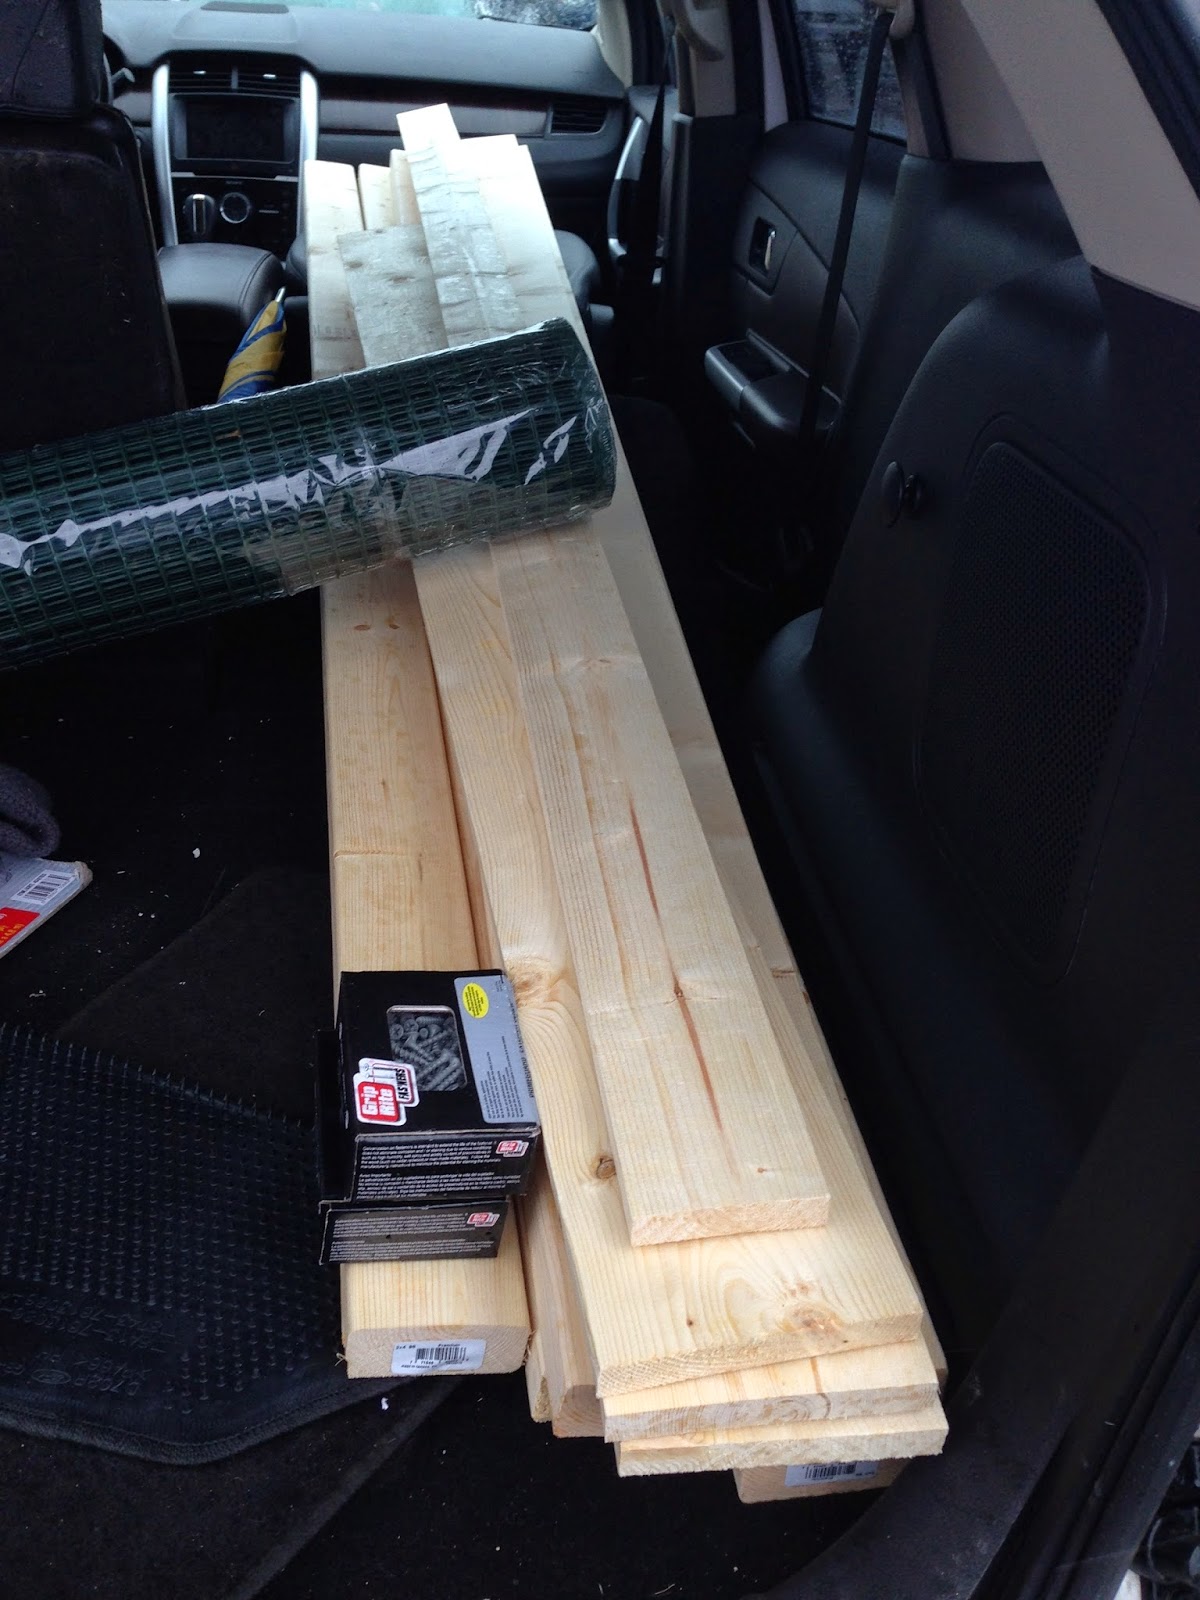
Here's a pic of my materials:

* Note: I will end up making the (3) Jar mounts.


Step 1:
Mark and cut board to size. I recommend 12" for (2) jars, or 16" for (3) jars.

This is a shot of the 16" mark, this is where I will make my cut.
I am building the (3) jar mounts.

To ensure I have a straight line, I am using the carpenter square.

OPTIONAL: Mark corner cuts if desired. I used the tops of the jars and made a 1" semi-circle

Step 2:
Cut the board to size (in my case it was previously marked to 16")

Here's the rough cut

OPTIONAL: cut the corner pieces off with the Jigsaw.
I clamped the board to my workbench, cut the corners, then flipped the boards and got the other sides.

Here's how it looks if you choose to cut the corners.

OPTIONAL: I decided to route my edges, and used the 1/4" Cove piece

OPTIONAL: Clamp the piece to a flat, stable surface, and begin routing the edges

This is how it will look if you choose to route the edges. I like this because it will help the jars stand out, as if they were mounted as a trophy piece :-)
Step 3:
Mark the placement of your jars. My jars are 3.75" wide, and I want to place:
A- (3) Jars: 1.25" between each jar and away from the corners
-or-
B- (2) Jars: 1.5" between each jar and away from the corners


Mark the wood so you can see the distance between your jars

Sorry for the upside down pic, but here's my marking of where the three jars will be

I'm a dork, so I labeled each one for you guys and gals
Step 4:
Mark the board mid points at each jar vertically and horizontally.
Locating the midpoints will help identify where the clamps will be nailed.
Mark the board mid points at each jar vertically and horizontally.
Locating the midpoints will help identify where the clamps will be nailed.

Indent this midpoint with a nail or with your screwdriver just a bit. This is going to help leave a mark to use as reference. Once we sand and stain the wood these pencil marks will disappear. Indenting the wood will help us locate the midpoints.

This is a look at where the clamps will be nailed. Try to orient the clamps so that they face the same direction, and you will be able to tighten/loosen the clamps as needed.
Step 5:
Sand the wood, wipe away the dust that will form up, then proceed to stain or paint the wood to the color of your choice. When your stain dries completely, protect the wood with a thin coat or two of polyurethane.


Step 6:
Nail the clamps to the board (Once the stain dries. I waited about 30 minutes, but read the instructions on your stain/paint choice). First, locate the previously indented midpoint, then place two brad nails, besides each other, to ensure the clamp doesn't swivel.

I started by nailing the center clamp, then continued with the other two. As you can already tell, the order doesn't matter.

Here's a look at the two nails.

Flip the piece of wood over once the stain has dried and nail the hangers to the Rear, Top corners of the frame.

I nailed the hangers 1" from the top, and 2.25" from either end.

Easy as pie!

Flip the board over again and insert and attach the jars by screwing the clamps secure.
Here's a look at my three jars. Well, two, I dropped one and it shattered. So now I have to go get a replacement. But you're imaginative, just picture the center Mason jar being there :-)

Here's another picture against a different background just so you can see the contrast. I will be posting more pictures of the jars already mounted and hung up in the bathroom (that's where I am placing mine).


Thats it! now go fill the jars with your favorite items.
Thanks for taking the time to browse through the blog. If you have any questions, concerns, suggestions or comments, please do not hesitate to drop us a comment below or reach out through the following social media outlets:
http://www.facebook.com/WoodyWoodWorks79
https://twitter.com/Woody_Things
http://instagram.com/Woody_Things
http://www.pinterest.com/WoodyWoodWorks3/
Finally, to check out some of the other creations we've made or to place an order on this or any of the items you see for sale at our site, contact us through our http://WoodyWoodWorks.etsy.com or http://www.WoodyThings.com page!
Happy Crafting!