How
to make an inexpensive Light Tent
If you’re having trouble
getting the perfect picture of your handmade items like I was then maybe it’s
time you thought about using a light tent. A light tent simply filters light
and allows you to capture more beautiful and very detailed pictures of your
items. It also eliminates shadows or any of the background images that can
distract the eye from your item.
You can purchase a light
tent for $50-$70 or you can easily make one for way less than that.
I don’t know about you but I’d
much rather save that money and use it to buy more craft products ;)
All you’re going to need is:
·
3 white foam boards ($2.88 each)
·
White duct tape ($4.79)
·
White tissue paper ($1.47)
·
White poster board ($1)
·
Two clamp lights ($6.47 each)
·
2 light bulbs ($7 for a pack of 3)
·
Pencil to mark where you’ll cut
·
Exacto knife or box cutter
·
Ruler

Step
1:
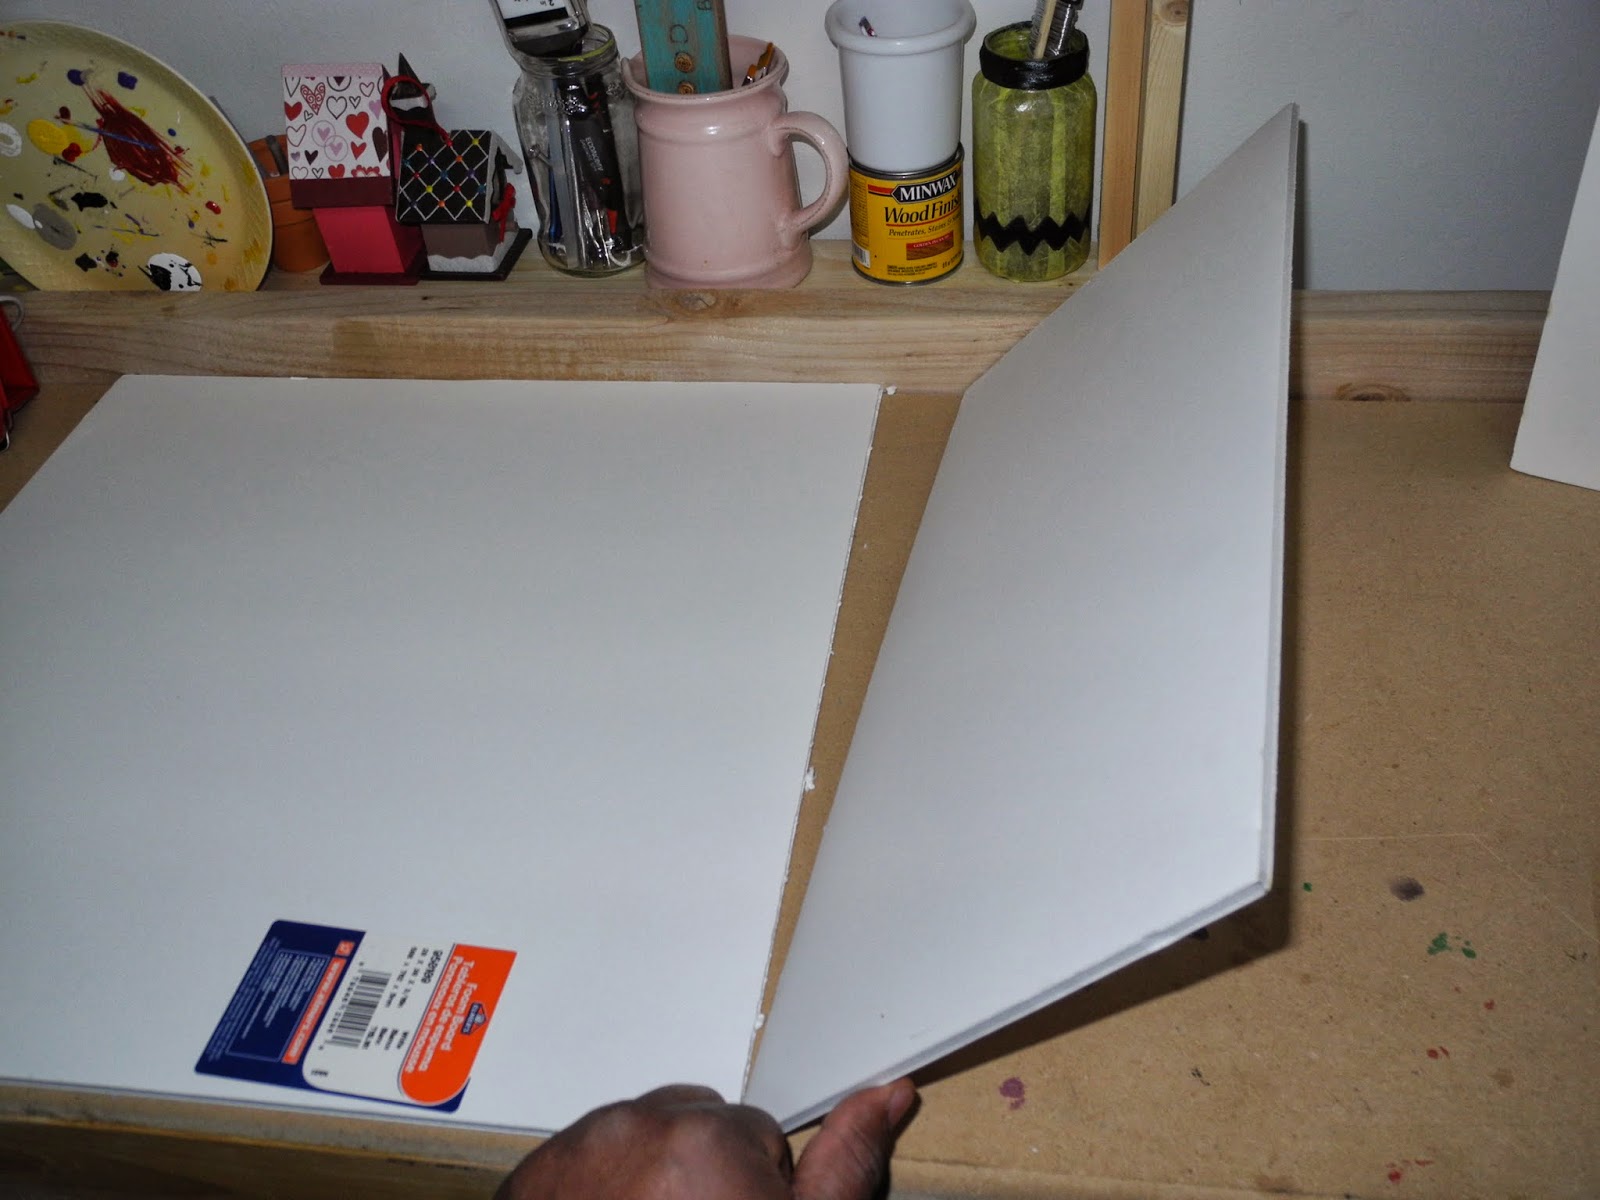
Since
your foam board is a rectangular shape, you’re first going to want to cut it
into a square. Cut about 10 inches from each foam board and you’ll have yourself a
nice looking square.


Step
2:
Once
you have your squares you will then
need to cut out a window in each of your foam boards. Use your ruler to mark
the width of your window. Make sure not
to cut all the way down or across because you’ll just end up with a smaller foam
board instead of one with a window cut out.


.JPG)

.JPG)
(This is my very silly husband, Angel)
Step
3:
Using
your duct tape you will now cover up each window with the tissue paper. This is
how the light is filtered. I found that for this step I needed an extra pair of
hands just to help smooth out the tissue paper.


Step
4:
Now
you will attach each window to each other using the duct tape again. Be
sure to leave a little space between each window. This will allow it to
bend and fold.


Step
5:
Finally,
you will attach your white poster board to the back of your light tent by
taping it to the top portion of the foam board and you’re done!

I
told you it was easy. Now for the fun part, taking pictures. Take a before
picture of your item first and then take an after picture of your item using
the light tent and observe the huge differences.
The results are phenomenal.

Is a few minutes of work worth it? Here's a few Before and After pics :-)

BEFORE

AFTER

BEFORE

AFTER
What do YOU think?
Some administrative Notes:
- Place the clamp lights on either side of the light-box. I placed mine on two scrap pieces of wood.
- Play around with distances and brightness, however, make sure you do NOT place the light directly unto the side (tissue paper) of the light-box as the paper can light on fire or become discolored from the heat. Of course, if you get LED lights or something that doesn’t produce heat, you’re all set!
Thanks for checking us out. If you have any questions, concerns, suggestions or comments feel free to follow our page on Facebook, Instagram, Twitter, Google + under our profile name (WoodyWoodWorks)
Happy Crafting!
Super cool. Makes a huge difference!
ReplyDeleteThanks Nick, It really does!
DeleteThis comment has been removed by a blog administrator.
ReplyDelete