Hello and welcome to my Woody Wood Works blog,
During this post I’d like to show you how I made a
6’ tall Pine Bookcase. Bookcases can be used to hold books, as well as
pictures, decorative birdhouses, candles and anything else you would like to
have on full display around the home.
Our children read quite a bit so our collection of
books has grown over the years. We decided to build the following bookcase to
accommodate a large amount of the books and series our kids continue to read,
Materials List
Pine board (Sides) 1 x 10 x 6’ - Quantity (2)
- Do not cut. These will be the sides
- makes 2 sides ¾ x 10 x 72”
Pine board (Front face bottom) 1 x 3 x 96 –
Quantity (1)
- cut to 41”
- makes 2 bottoms ¾ x 2 ½ x 41
Pine board (Front face) 1 x 2 x 96 – Quantity (3)
- cut to 41”
- makes 6 front faces ¾ x 1.5 x 41
Pine board (Front and rear edge) 1 x 2 x 72 –
Quantity (4)
- Do not cut. These will be the front and rear
edges
- makes 4 ¾ x 1.5 x 72
Pine board (Shelves) 1 x 10 x 96 – Quantity (4)
- cut to 41”
- makes 8 shelves ¾ x 9.5 x 41
Wood Glue
Course Kreg screws 1.25"
Brad Nails 2" or finishing nails)
Tools
Kreg Jig
Chop Saw/Miter Saw
Drill
Clamps
Nail gun (or hammer)
Yard Stick/Tape Measurer
Pencil
Starting it off:
 |
| First I cut the lumber down to size. My shelves are cut to 41", the sides are an even 72" (no cutting needed), as well as the sides. |
 |
| Next I made some pocket holes for all shelve front-faces (this is what the shelves will get attached to) |
 |
| For making these pocket holes I used a Kreg Jig. Settings were set at 3/4" |
 |
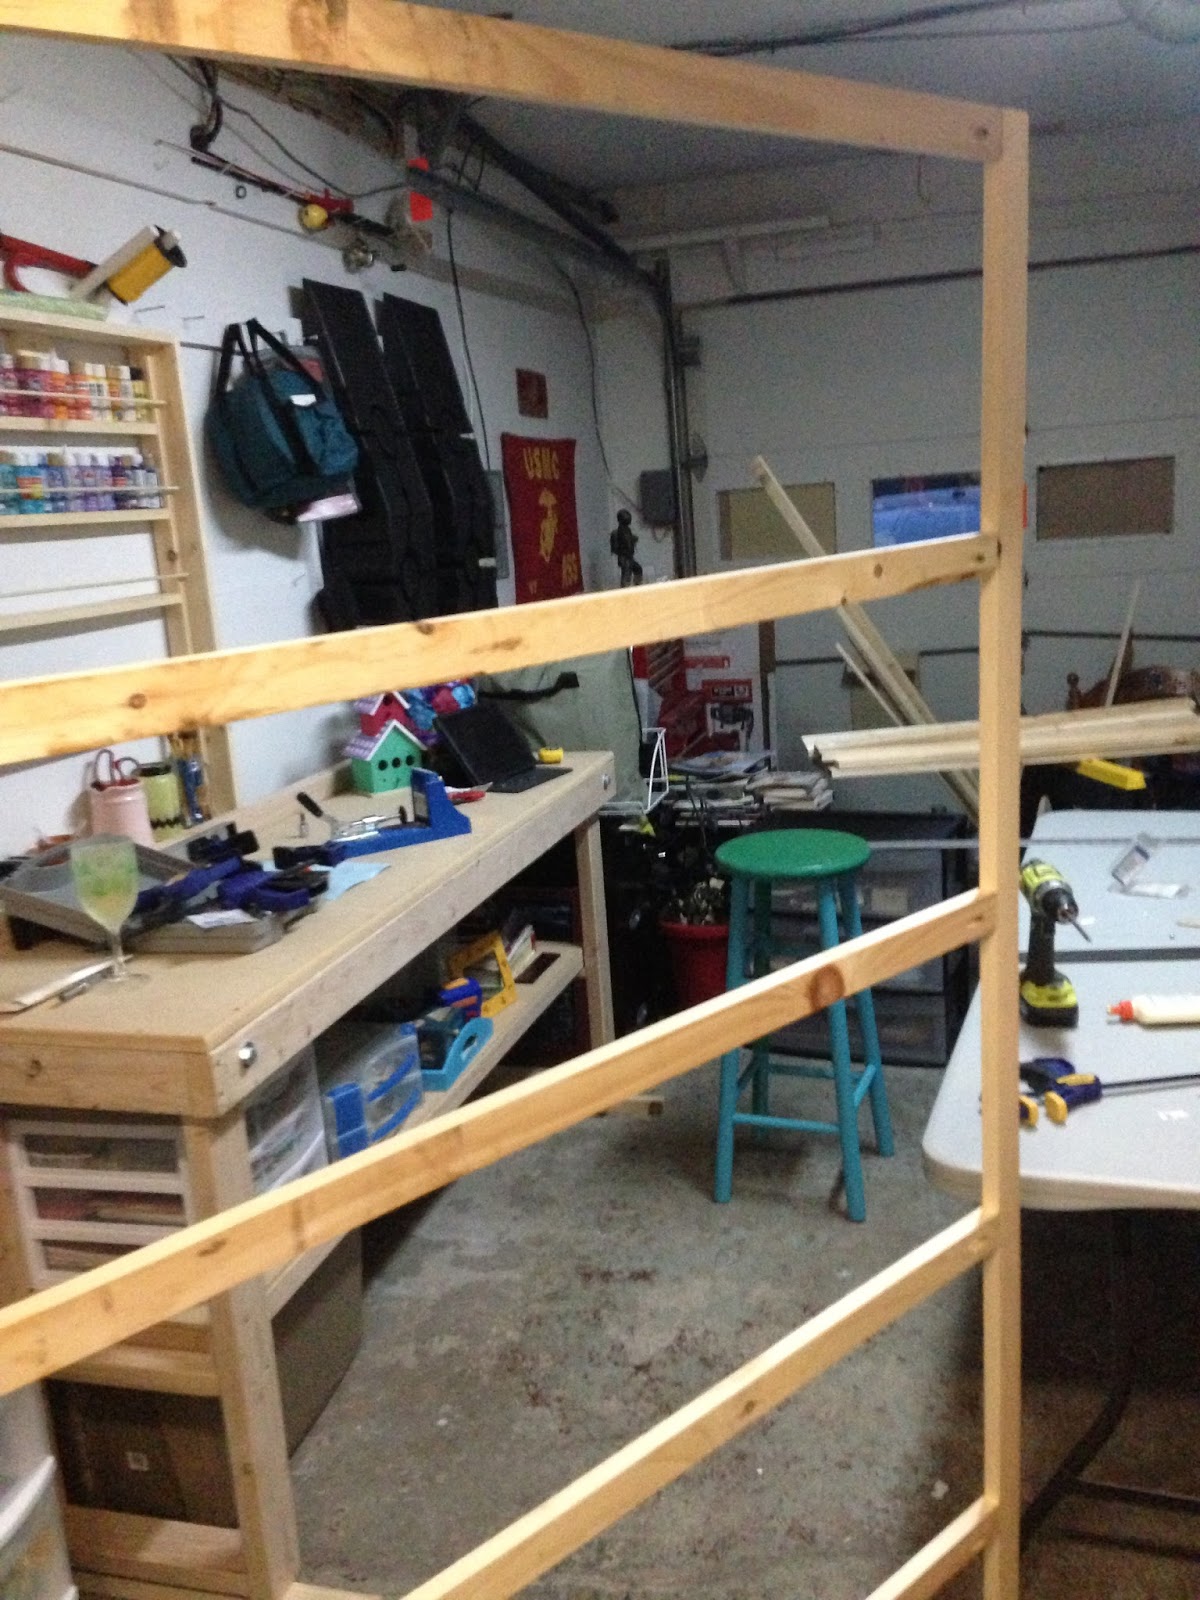
| Once all pieces were cut to size and pocket holes were screwed together I mocked the front frame by laying the pieces where the would go. Make sure you take the time to measure the distances between each shelf at this time. I made the first shelf (closest to you as you look at the picture above) larger than the others. Typical sizes are about 10" for each shelf. |
 |
| Once the mock up is complete, I glued and screwed the boards together utilizing 1-1/4 Coarse Kreg Screws. Ensure you mark the location, then clamp it down to ensure the boards do not shift once it's being drilled together, and thats all :-) |
 |
| Place the side board perpendicular to the shelf-fronts so that you can mark the board. This is where the next pocket holes will be screwed, attaching the boards to the front and rear frame (which will be made later). |
 |
| Mark the board with a pencil, then repeat on the other board. |
 |
| This is a picture of the board with the pocket holes already made. |
 |
| Glue the side to the frame, and screw them together. Only glue and screw one side at this time. |
 |
| Once ONE side is screwed on, drill pocket holes on each shelf edge. Drill pocket holes on the back side of the board as well. |
 |
| This is another picture showing where I drilled pocket holes on the back side of the shelves. |
 |
| Glue and screw each shelf to the frame and to the side. |
 |
| This is another shot of the side, the shelf, and front frame (facing the floor) together. Make the back frame. You can now glue/screw the remaining 4 pieces (two 1 x 2 x 72 for the sides, one 1 x 3 x 41 for the bottom, and 1 x 2 x 41 for the top). |
 |
| Now screw the second side to the bookcase. The last step is gluing and screwing the rear frame. We plan to cut another board for the very top of the bookshelf. We will glue/screw this last piece flushed inside the bookshelf, and place some molding on the upper edge of the bookshelf. |
This covers how to make your very own bookshelf/storage unit. You can purchase some plywood, about 1/4" thick, and nail it to the back of the bookcase. As you may imagine, the backing will stick out 1/4 inch by using this method.
Thanks for taking the time to read through our
tutorial. We look forward to providing many more to come.
Please feel free to comment, share, like as you
deem appropriate.
Follow us on:
http://www.etsy.com/shop/WoodyWoodWorks
https://twitter.com/woodywoodworks
http://instagram.com/shabbyanddistressed
- Raquel


